Learning how to draw a date fruit might seem tricky at first. But with the right guidance and simple steps, anyone can create a realistic or cartoon-style date fruit drawing—even as a complete beginner.
This guide will walk you through everything you need to know, from understanding the shape of a date fruit to adding final touches like texture and shading. Whether you’re sketching for a school project, practicing your drawing skills, or just enjoying art as a hobby, this is the perfect starting point.

Why Learn Date Fruit Drawing?
Date fruits are not just a staple in many cultures; they also have a distinct, easily recognizable form. Their elongated, slightly wrinkled surface and glossy texture make them an excellent subject for sketching and improving your observation skills.
Moreover, practicing with a date fruit drawing helps train your hand to observe organic forms and subtle textures—skills that apply to drawing many other fruits and natural objects.
Getting Started with Your Date Fruit Drawing
What You’ll Need
Before you begin, gather your basic materials. For beginners, there’s no need for advanced tools. A simple pencil, eraser, sketchbook, and optional colored pencils are enough.
Understanding the Shape
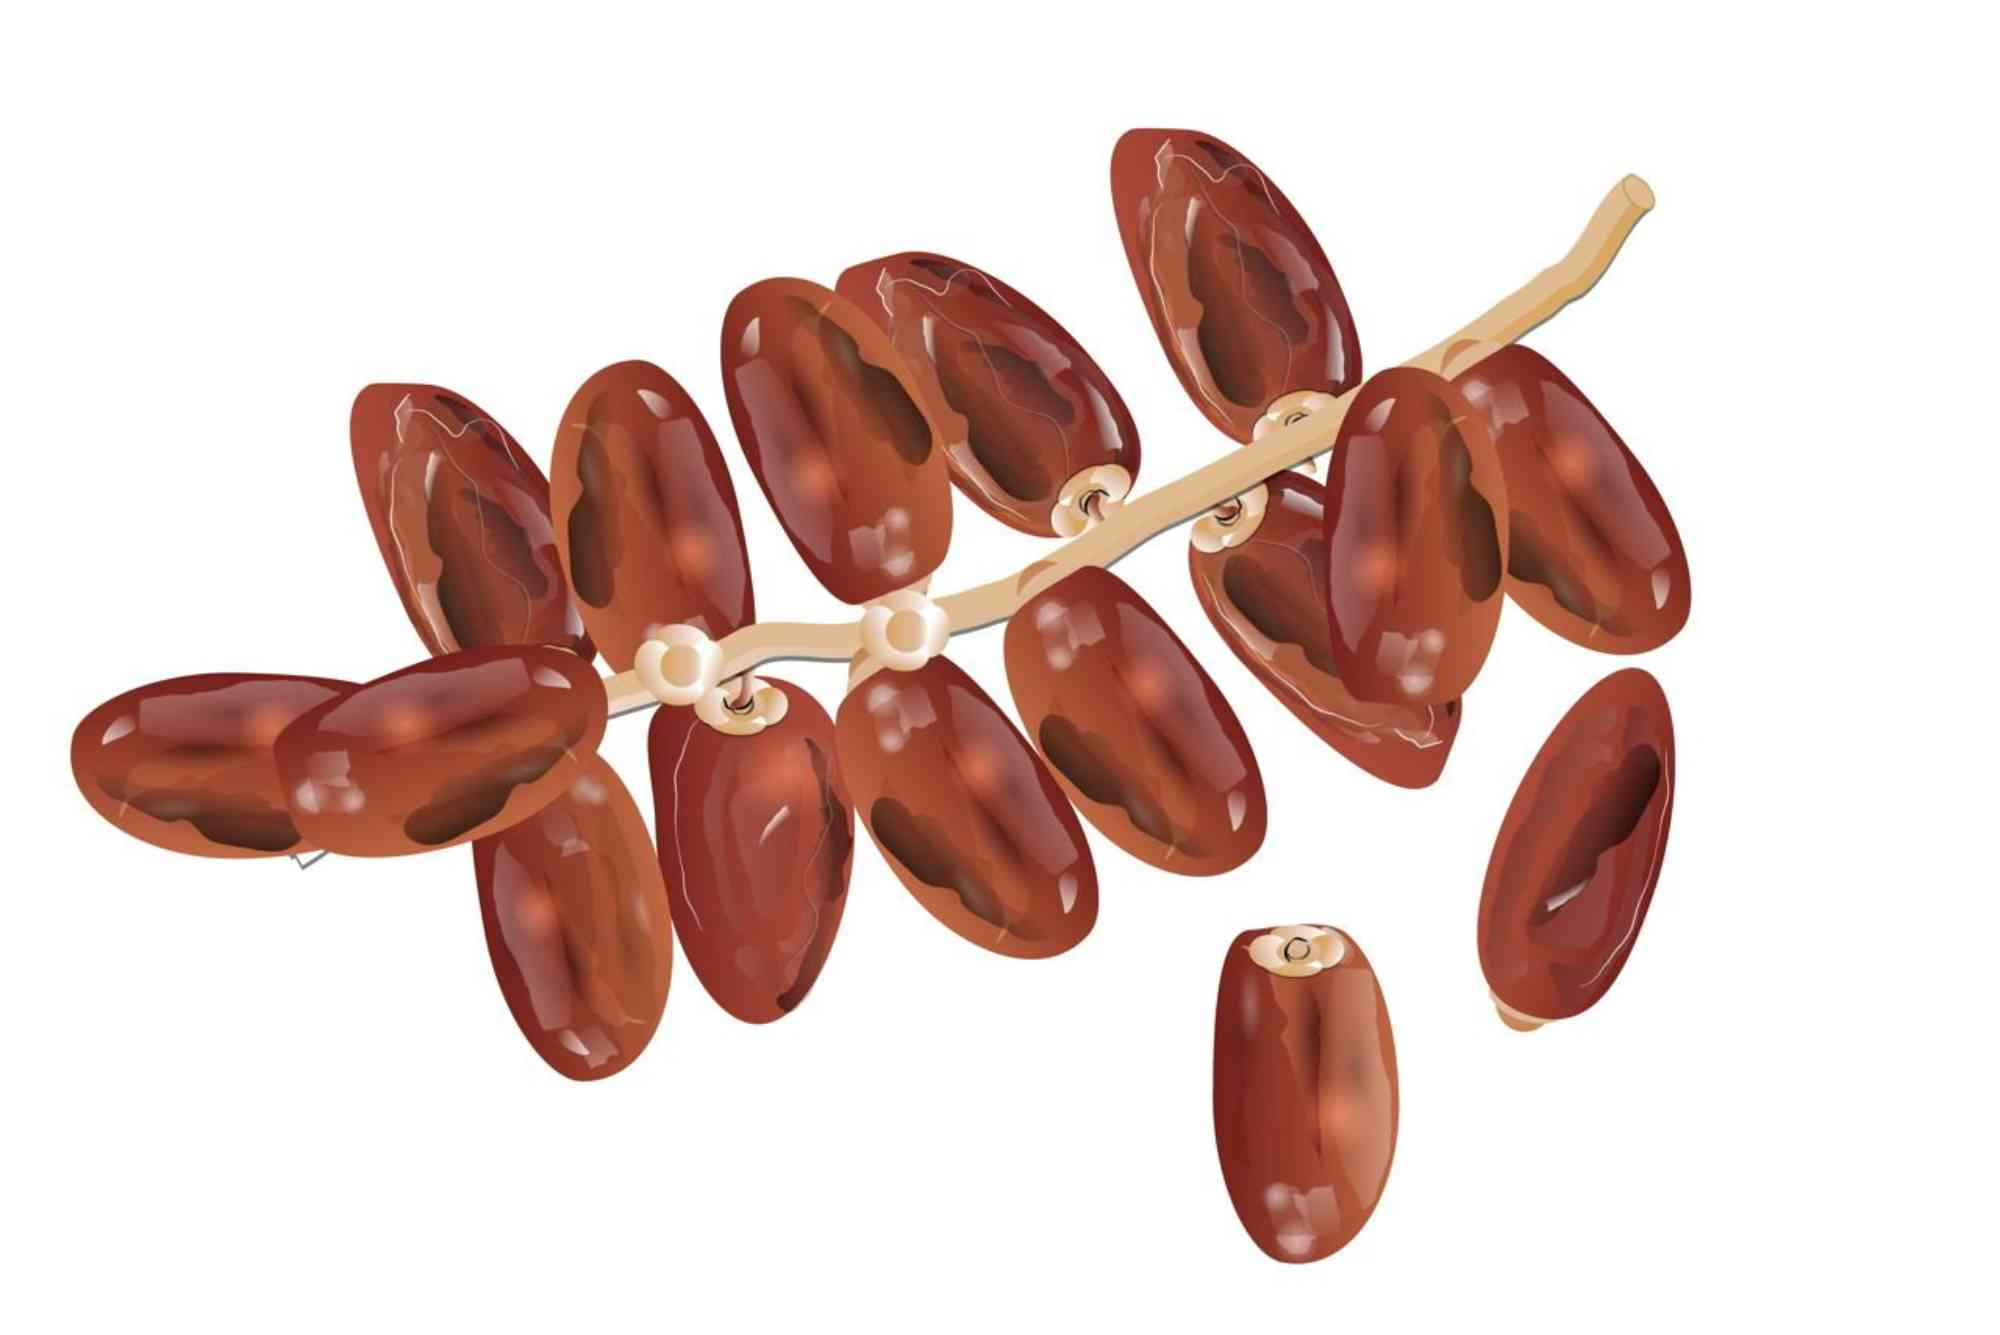
Date fruits are oval and elongated. Unlike perfectly smooth apples or oranges, they have a slight asymmetry and soft surface folds. Start by observing real dates or reference images. Notice how they curve slightly and have an indentation at the top where the stem attaches.
Step-by-Step Guide to Drawing a Date Fruit
Sketch the Basic Shape
Begin with a light outline. Draw an elongated oval—slightly curved for a more natural feel. Don’t worry about perfection. Organic shapes aren’t symmetrical.
Define the Form
Refine the shape by adjusting one side to be slightly thicker or more curved than the other. At the top, add a small indentation to represent where the stem would attach.
Add Wrinkles and Texture
Date fruits often have subtle wrinkles along their surface. Use light, uneven lines to suggest this texture. Vary line thickness and avoid uniform patterns.
Shading and Volume
To give your date fruit drawing depth, add shading. Lightly shade one side to represent the shadow. Then, darken wrinkles to enhance their depth. Remember where the light source is coming from and shade accordingly.
Add Color (Optional)
If you’re using colored pencils or markers, choose shades of brown, reddish-brown, and golden highlights. Blend the colors to reflect the glossy, slightly sticky surface of a real date.
Tips for a Realistic Date Fruit Drawing
Observe Real Dates
Working from a real date or a high-quality image makes a big difference. Notice the subtle color variations and how the light reflects off the skin.
Use Light Pressure First
Begin with soft lines. It’s easier to erase and correct light strokes than dark, heavy ones.
Practice Makes Progress
Don’t expect perfection on the first try. Repeating the process helps you improve your line confidence and observation skills.
Exploring Different Styles of Date Fruit Drawing
Realistic Style
Focus on texture, shadows, and slight imperfections. Realistic drawings work best when you take your time with shading and layering.
Cartoon or Line Art
For a simplified version, use bold outlines and skip heavy shading. Add a face or expressive elements to create a fun and whimsical date fruit drawing.
Colored Illustrations
Using watercolor or colored pencils adds depth and makes your art pop. Great for school projects or food illustrations.
Common Mistakes to Avoid
- Over-shading: Keep it light and gradual.
- Symmetry obsession: Real fruits are rarely perfect.
- Ignoring the light source: Consistent light direction improves realism.
- Skipping the texture: That’s what makes date fruits unique.
Practice Exercises for Beginners
- Draw from Life: Place a real date in front of you and sketch it from different angles.
- Texture Drills: Practice short, wavy lines to mimic the fruit’s surface.
- Shadow Practice: Sketch a date and place a small lamp to observe how shadows form.
These exercises will help strengthen your skills not only in drawing dates but in other natural forms too.
Benefits of Drawing Fruits Like Dates
Drawing objects like date fruits helps artists learn patience, improves hand-eye coordination, and teaches the subtle art of texture and shadow. It’s also incredibly relaxing and satisfying when you start to see progress.
Plus, fruit drawings are popular in still life compositions, food illustrations, and botanical art.
Start Your Date Fruit Drawing Today
Drawing doesn’t have to be complicated. The key is to start with simple shapes, observe closely, and enjoy the process. With a little time and practice, you’ll be surprised by how realistic your date fruit drawing can become.
Whether you’re a beginner or someone revisiting their love for art, drawing date fruits offers a rewarding creative experience.
Ready to get started? Grab a pencil and draw your first date fruit today!
Frequently Asked Questions (FAQs)
How do you draw a date fruit easily?
Start with an oval shape, refine the form, add wrinkles and shade one side for depth. Keep your lines light at first.
What color is a date fruit when drawing?
Date fruits are typically reddish-brown or dark brown with hints of amber. Use browns and warm tones for a realistic effect.
Can kids draw a date fruit?
Absolutely! A date fruit drawing is simple enough for kids. Focus on the basic shape and add details gradually.
How do you add texture to a date fruit drawing?
Use short, uneven lines to mimic the fruit’s wrinkled skin. Lightly vary the direction and thickness for a natural look.
Should I use reference images when drawing fruits?
Yes. Reference images help you understand shape, texture, and shadows more accurately, especially when starting out.